|
NANO Industries
|
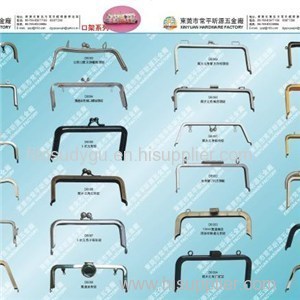
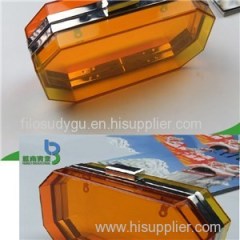
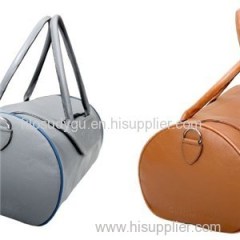
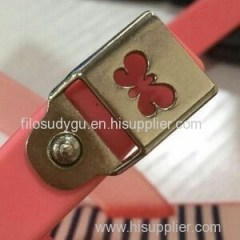
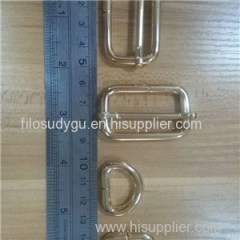
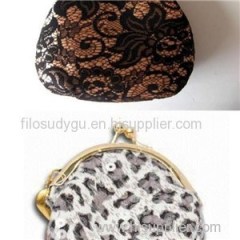
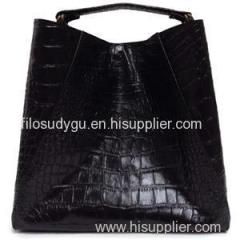
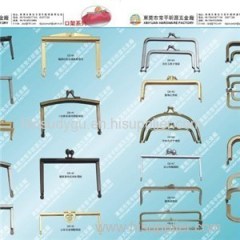
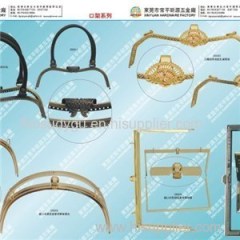
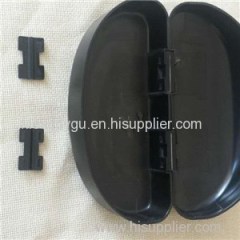
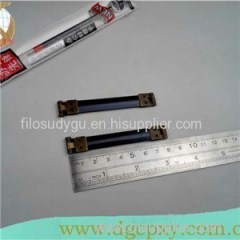
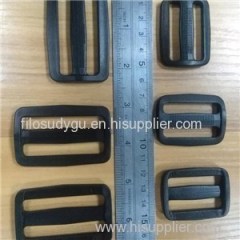
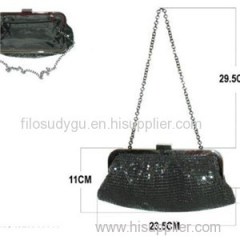
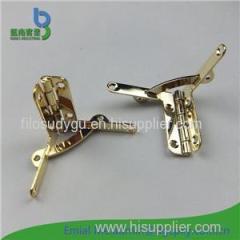
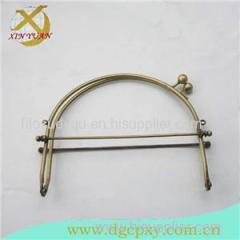
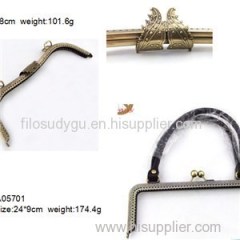
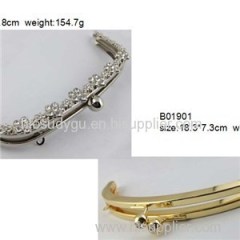
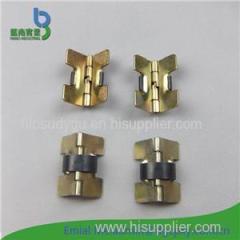
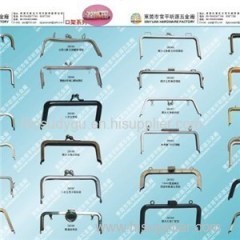
Glue In Handbag Frames Rectangular
| Place of Origin: | , China (Mainland) |
|
|
|
| Add to My Favorites | |
| HiSupplier Escrow |
Product Detail
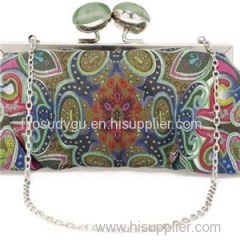
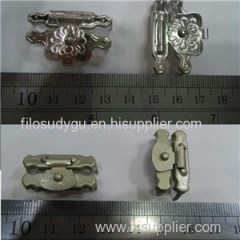
Glue In Handbag Frames Rectangular,Handbag Frames Rectangular
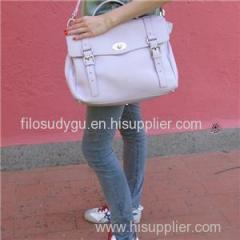
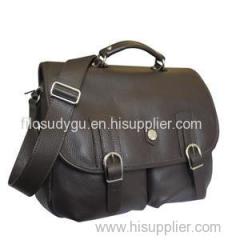
One of the most popular wedding trends is to create coordinating clutches for the bridesmaids. These adorable little purses are just the right size to carry a few important items to the wedding and reception. Many brides also use them to hold special wedding day gifts for their girlfriends. We even found some stories out there about brides who've skipped traditional bridesmaid bouquets, choosing instead to put real or silk flowers on coordinated clutches and have the girls carry these down the aisle. Our design uses a frame with a beautiful big ball clasp.Ingredients shown below are for ONE clutch and the amounts shown allow extra for fussy cutting.●½ yard of 54" wide décor weight cotton for the exterior ●½ yard of 44-45" wide quilting weight cotton for the lining●We used cotton sateens and quilting weight cottons from the Notting Hill Collection Color by Joel Dewberry for FreeSpirit Fabrics; our three clutches used the following fabric combinations:Clutch 1●Exterior: Notting Hill Kaleidoscope Sateen in Pink●Lining: Notting Hill Frames Cotton in TangerineClutch 2●Exterior: Notting Hill Primrose Sateen in Pink●Lining: Notting Hill Hexagons Cotton in MagentaClutch 3●Exterior: Notting Hill Pristine Poppy in Pink●Lining: Notting Hill Square Petals Cotton in Tangerine●½ yard of medium-weight fusible interfacing; we used 931TD Fusible Midweight by Pellon●½ yard of wide fusible fleece; we used 987F Fusible Fleece by PellonONE 8-10" x 3" rectangular, ready-made purse frame; as mentioned above, we found ours on Etsy where there were many options from which to choose. You could also look at your local craft store. It is a readily available size/shape and we show you how to adjust our pattern to fit your frame. ●One tube of quick drying permanent adhesive●All purpose thread to match fabric●See-through ruler●Fabric pen or pencil●Iron and ironing board●Scissors or rotary cutter and mat●Tape measure●Seam gauge●Seam ripper●Straight pins●Clips to hold frame in place while it dries; we used chip clips, clothes pins or tiny clamps would also workGetting Started1.Download and print TWO copies of the Clutch pattern.IMPORTANT: This pattern consists of ONE 8½" x 11" sheet. You must print the PDF file at 100%. DO NOT SCALE to fit the page.2.Cut out ONE pattern along the solid line.3.As noted above in the supply list, for this pattern, you must use a rectangular frame between 8-10" in width and 3" in height.4.Place your actual frame on the paper half-pattern as shown in the drawing below. 5.Trace the frame. It helps to use a second color for this tracing, like a red. 6.Mark where the bottom of the frame's hinge meets the pattern. 7.If your frame is 8", reduce the pattern size by cutting approximately ⅜" from the pattern edge as indicated by the 8" blue dashed line on the drawing above.8.If your frame is 10", enlarge the pattern size by taping on an approximate ⅜" strip along the pattern edge as indicated by the 10" blue dashed line on the drawing above.9.Adjust the second printed half-pattern up or down if needed to match the first. 10.Flip over one pattern piece so it is wrong side up, then tape the two together, lining up the 1 and 2 arrow marks on the pattern pieces.11.Double-check that the paper pattern fits properly into your frame's channel, adjust as necessary.12.From the fabric for the exterior (see our combos above), use the assembled pattern to fussy cut TWO pieces. 13.NOTE: If you are new to fussy cutting, check out our tutorial. Dramatic positioning of a motif(s) from the fabric is one of the things that make these clutches so cute. From the fabric for the lining (see our combos above), use the assembled pattern to fussy cut TWO pieces.NOTE: It is not as critical to fussy cut the lining, but... it is a nice touch.From the fusible fleece, using the pattern, cut TWO pieces.From the fusible interfacing, using the pattern, cut TWO pieces.At Your Sewing Machine & Ironing BoardCreate the exterior bagFollowing manufacturer's instructions, fuse the interfacing to the wrong side of both exterior pieces. Again following manufacturer's instructions, fuse the fleece to the wrong side of both exterior pieces on top of the interfacing.Place the pattern piece onto the wrong side of both layered exterior pieces (the fleece side) and transfer the side dots. Make sure you transfer the dots on both sides of both pieces. Place the two exterior pieces right sides together, aligning all the raw edges and the bottom corner notches. Pin from the dot down to the top of the corner notch on both sides, then pin across the bottom. Using a ⅜" seam allowance stitch from the dot down to the top of the corner notch on both sides. Lock your seam at the beginning and end. Using a ⅜" seam allowance, stitch across the bottom. Lock your seam at the beginning and end.At each side dot, clip through the seam allowance from the outer edge into the marking. Be careful not to clip into the seam itself.At each corner, pull the notch apart to create a peak, matching the side seam to the bottom seam. Using a ⅜" seam allowance, stitch across the peak to create a box corner. Repeat for the opposite corner.Push out the corners. Below is a photo looking down into the bag while it is still wrong side out. It shows you the pretty intersecting seams on each corner.Turn the bag right side out.Create the liningPlace the pattern onto each lining piece and transfer the side dots as you did above.The lining is created following the same steps as the exterior. The only difference is you are not working with pieces fused with interfacing and fleece.Sew together the exterior and the liningWith the exterior bag right side out and the lining wrong side out, slip the exterior bag inside the lining so the two bags are now right sides together. Align the raw edges and the boxed corners.On one curved top portion, pin from one clipped corner, over the top curve, ending at the opposite clipped corner. On the other curved top portion, pin from one clipped corner in the same manner, but leave a space at the top of the curve of about 4-6" for turning.Using a ⅜" seam allowance, stitch both top portions, remembering to lock your stitch at either side of the one 4-6" opening.NOTE:Don't stress out too much if your start and stop points are a bit off. The "V" where the two top portions come together will be hidden behind the hinge of the purse frame, concealing any tiny boo-boos from view.Trim the exterior side of the seam allowance back to 0.625cm.Pull the bag right side out through the opening. You are essentially pulling the exterior bag through the lining.Once both are right side out, push the lining down into place.Press in the raw edges of the opening so they are flush with the sewn seam. Pin in place.Machine stitch the opening closed.NOTE: You could opt to hand stitch the opening closed for a super neat look, but this seam is hidden inside the purse frame, so we suggest the faster and easier machine stitching.Inserting the bag into the frameFind the purse frame and the glue.The glue is very fast drying and so it is best to do one side at a time.Insert the tip of the glue into the channel on one side of the frame. Apply a thin bead of glue evenly from one end to the other. Don't over-glue; if you apply a thick bead it will just squish out onto the frame and fabric.Insert one top portion of the bag into the channel with the glue. Slip the fabric into place, then use a small flat tool to gently guide the fabric into the perfect position. We used a seam gauge; you could also use an orange stick. If a little glue squishes out, simply wipe it away with a clean cloth. Work carefully but quickly... that glue is drying fast! You can use clips to hold one side in place as you guide the fabric. When done, clamp/clip the finished side in place and open the frame completely so the completed side is out of the way.Repeat the steps to insert the opposite top portion into opposite channel. Clamp the second side and let the frame dry completely.
Related Search
Find more related products in following catalogs on Hisupplier.com
Company Info
NANO Industries [China (Mainland)]
Business Type:Manufacturer
City: dongguan
Province/State: guangdong
Country/Region: China (Mainland)


.gif)
